📹 Video Guide — Getting Started
Getting started with CoreQuote
Getting Started with CoreQuote
Welcome to CoreQuote — the fast, professional quoting and invoicing app built for trades businesses. This guide walks you through creating your account, completing the setup wizard, and getting ready to send your first quote.
1. Creating Your Account
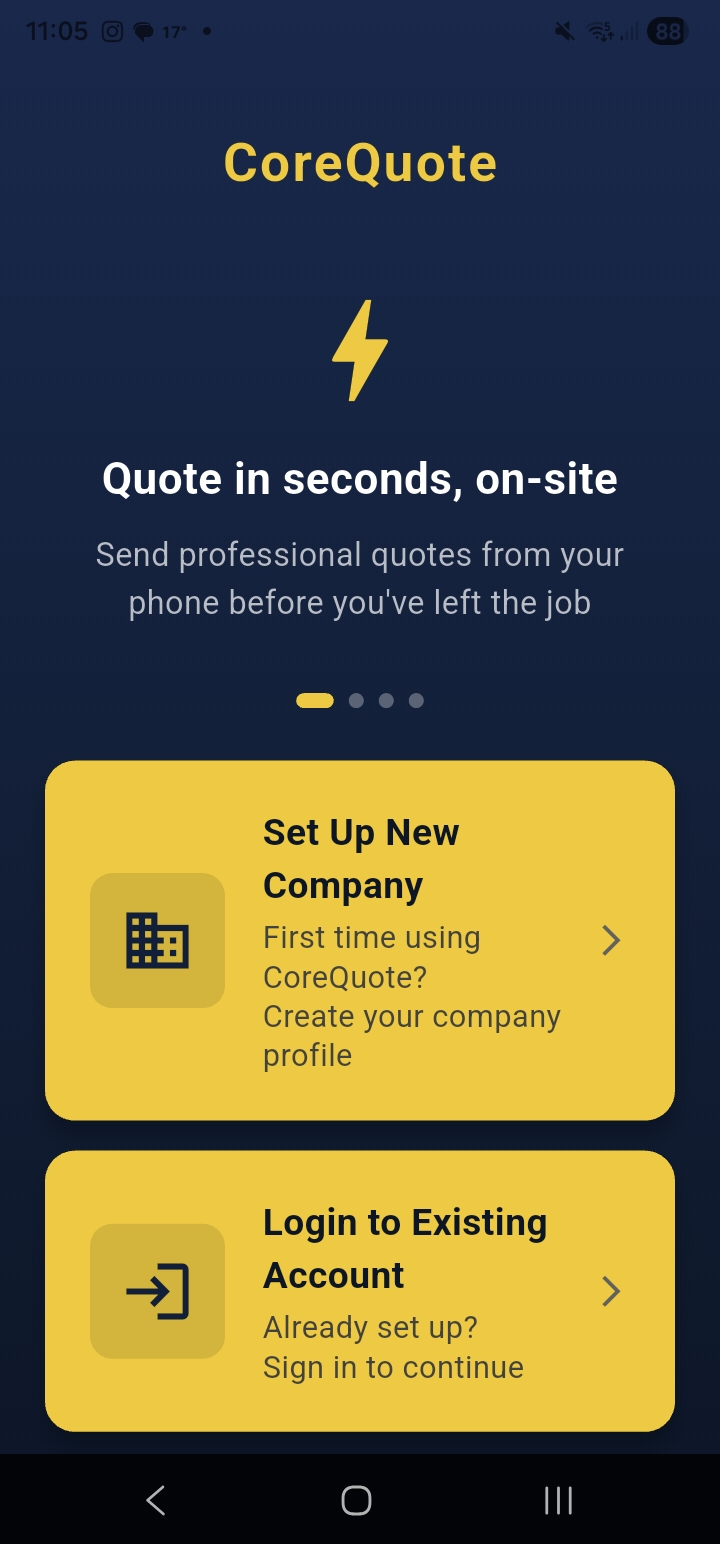
When you first open CoreQuote you’ll see the Welcome screen. Tap Set Up New Company to create a new account. You can sign up using:
- Email & Password — traditional registration
- Sign in with Apple — iOS only
- Sign in with Google — Android and iOS
2. The Setup Wizard
After registering, the Setup Wizard guides you through six quick steps:
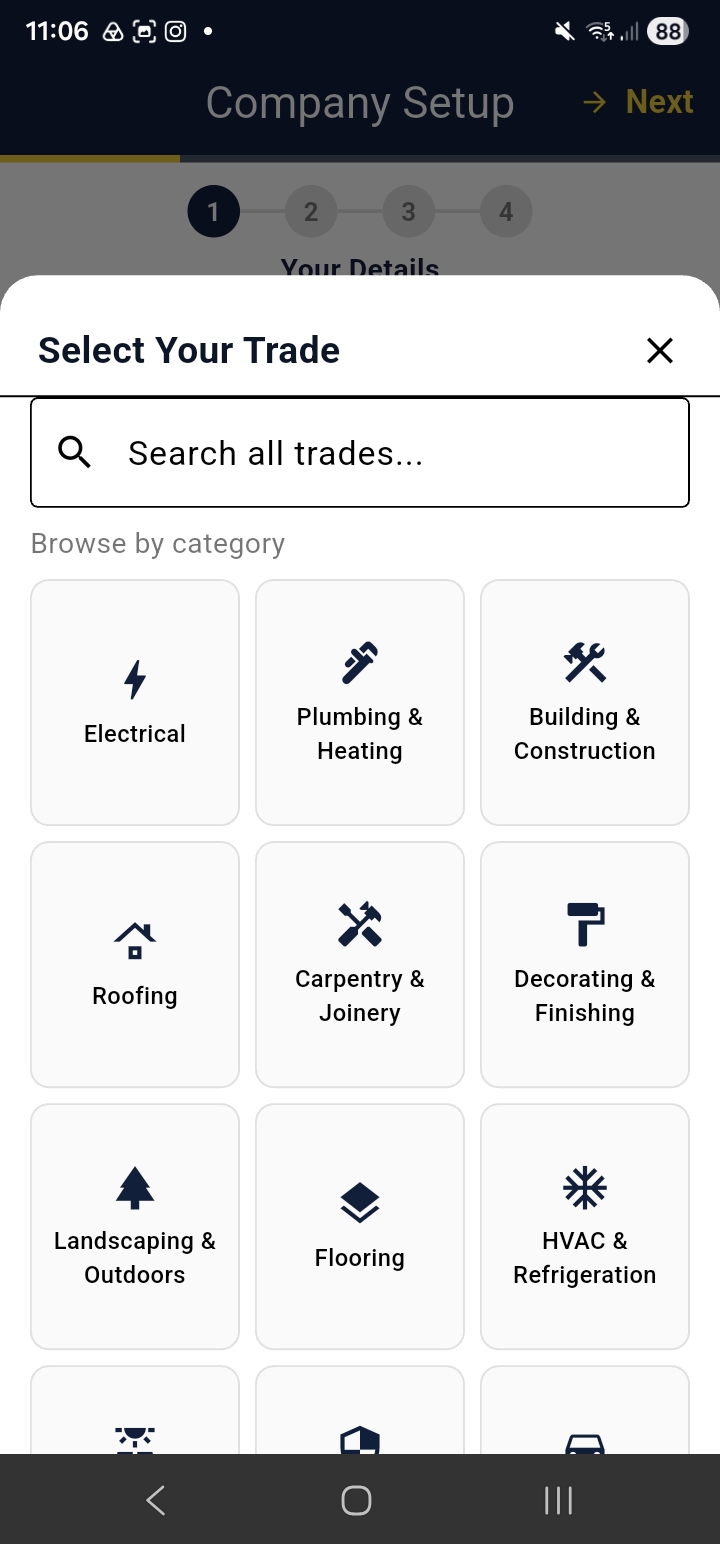
- Trade — select your trade from the list (Plumber, Electrician, Builder, etc.)
- Company Details — name, email, phone, and registration number
- Terms & Privacy — review and accept to continue
- Address — registered address and an optional separate trading address
- Currency & Language — set your default currency and display language
- Notifications — choose whether to receive automatic quote expiry reminders
3. Recommended First Steps
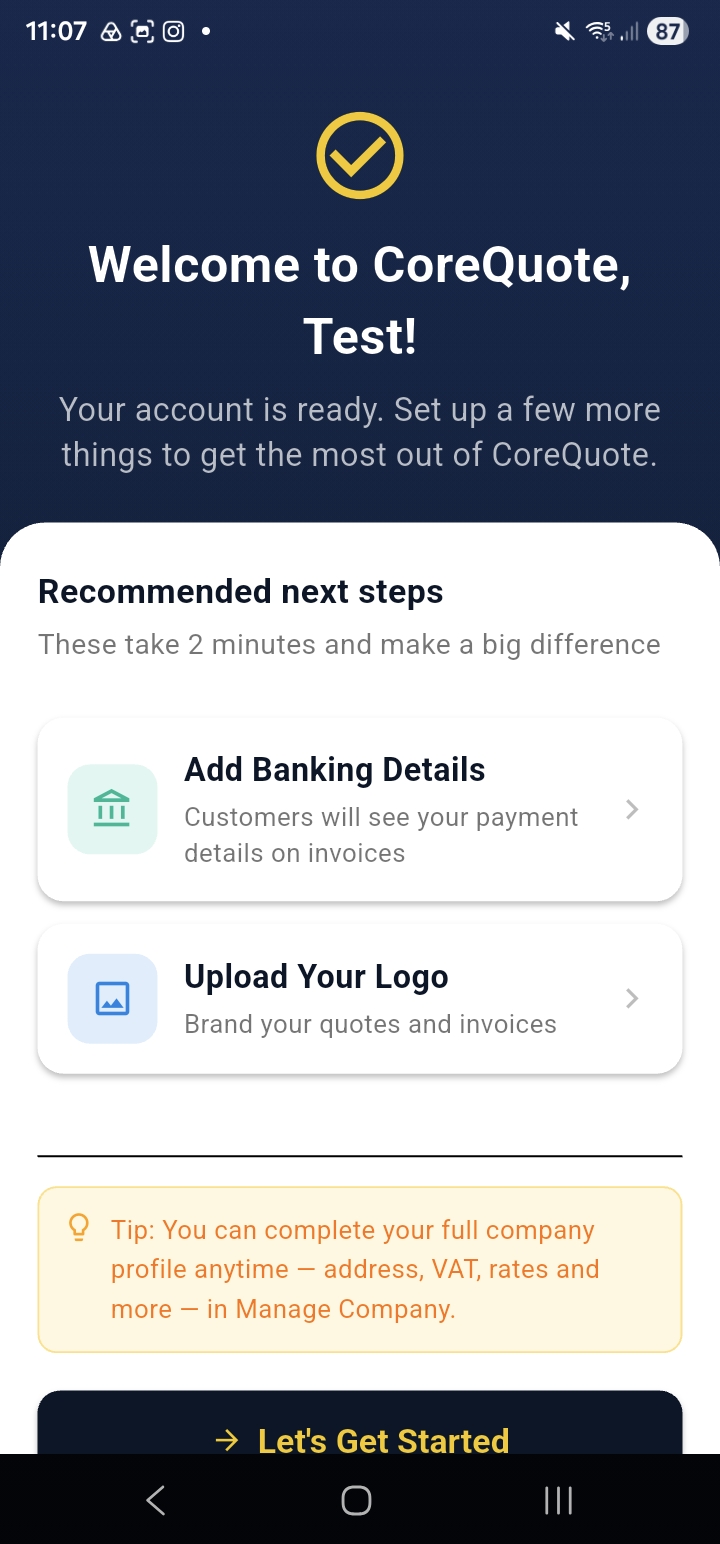
After completing the wizard, CoreQuote shows a Recommended Next Steps screen. These are optional but make a significant difference to your first quote:
- Add Banking Details — so customers see your payment information on quotes and invoices
- Upload Your Logo — brand every quote and invoice with your company logo
4. Welcome Bonus Quotes
New accounts receive bonus quotes on top of the free tier allowance. Complete your profile — company details, logo, banking details, and a quote — to unlock additional bonus quotes. The progress tracker is shown on the Complete Setup screen.
5. Offline Mode
CoreQuote works without an internet connection. If your device loses connectivity, an orange offline banner appears and the app serves cached data. All actions taken offline are queued and sync automatically when you reconnect.